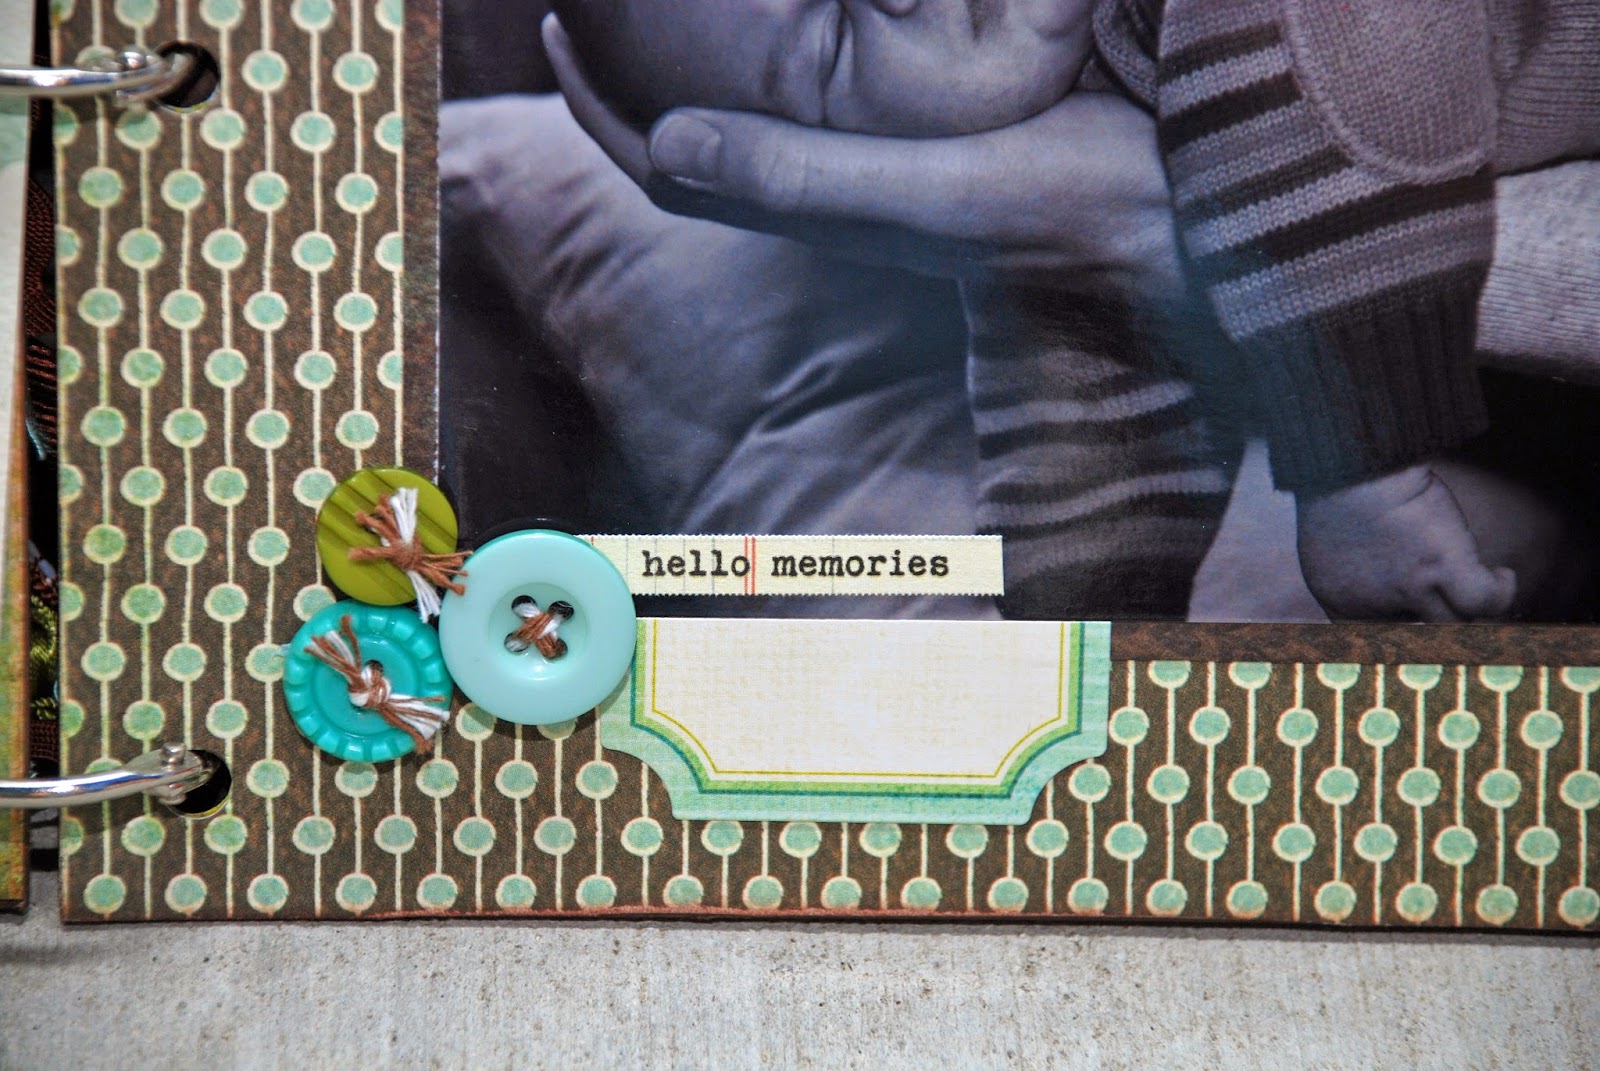
I started this December Daily-esque album right after Christmas
2012. I was pretty close to finishing it when I put it aside for
something else. I pulled it out in preparation for submitting to the
Craft Warehouse design team. That is when I realized I was not quite
finished.
I
still haven't finished all of the journaling, but I am slowly working
on it. I want to do another book this year for December/Christmas, so I
am trying to get this one wrapped up.
I really wanted to get this posted so I took pictures before the journaling was done.
I
love this book. It went together so quickly and the finished product is
one of my favorites to date. Binder, paper, paper, trims and stickers
are all from Teresa Collins Christmas Memory Binder Kit plus a things from my stash.
Way
back in 2012 I was shopping my local Craft Warehouse when I found the
binder kit and some extras on sale and I knew it would be a perfect for
my first attempt at a December Daily. I didn't quire get the daily part
done, but I did get the highlights from the month.
Sorry for the picture overload. Enjoy.
Showing posts with label mini-album. Show all posts
Sunday, November 16, 2014
Friday, August 1, 2014
Bo Bunny BABY Boy Word Album
I finally finished Bubba's BABY Word Album. Me being me, I still need to add journal, but at least the book is put together.

My awesome mother-in-law bought me the adorable paper by My Mind's Eye a couple of years ago. I got the paper traced, cut and put on the chipboard right away, and even got the pictures printed, but then it all sat in my "to get to soon" pile of projects.
Once I finally sat down to work on it, it only took a couple of hours of work since the hard part was done. And, it was really fun to work with this paper, color scheme and little details.
It was a walk down memory lane working with these pictures since Bubba is 4.5 years now and in these pictures he was 0-3 months.
I am really pleases with how well it turned out. I used the same Bo Bunny BABY Word Album I made Peanut's book with and laid it out similarly.
I am glad I got it finished when I did, because I also used it as one of my submissions for the Craft Warehouse Design Team Call. Craft Warehouse is my favorite local craft store. I submitted way back in 2011 for their design team and was listed in Honorable Mention, so my fingers are crossed for this year.I would love to me on their design team. Keep your fingers crossed.
Sunday, May 25, 2014
Fall Fun Mini Album
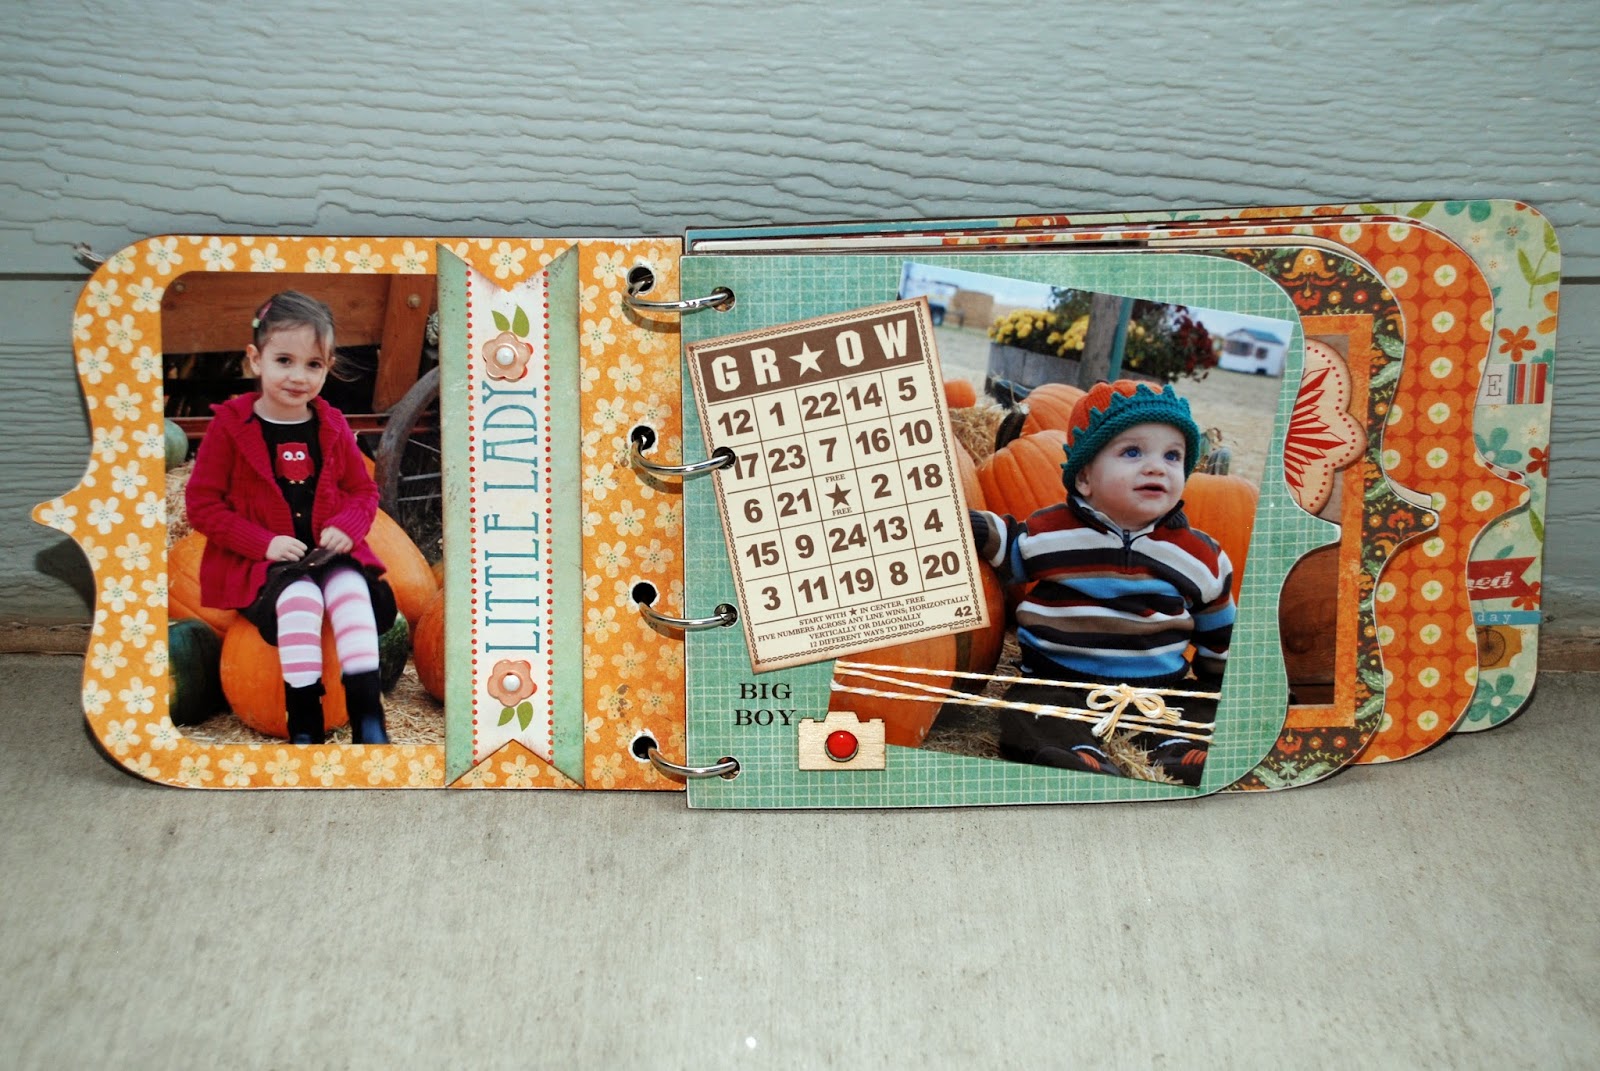
Another project I started and almost finished over a year ago was this super cute mini album about a trip to the Pumpkin Patch. I set it aside to finish the journaling and add a few minor touches and didn't touch it until recently.
I LOVE the warm colors in these My Mind's Eye papers - they just feel like fall to me.
I obviously still have the journaling to do, but I will get too it. Eventually.
The other thing I love about this mini album is the pictures. I am not a fn of having my picture taken, but I love these ones of us as a family!
I LOVE the warm colors in these My Mind's Eye papers - they just feel like fall to me.
I obviously still have the journaling to do, but I will get too it. Eventually.
The other thing I love about this mini album is the pictures. I am not a fn of having my picture taken, but I love these ones of us as a family!
Thursday, November 8, 2012
Winner, Winner Chicken Dinner!
WAHOO!!!
I am so excited. My 6 x 6 Pocket Album was selected as one of 6 projects on the create blog. There are some amazing projects and I am honored and humbled to be grouped with those talented folks.
A big thanks to DCWV and create for putting on a great challenge and giving such a great prize - 12 DCWV stacks!!
I am so excited. My 6 x 6 Pocket Album was selected as one of 6 projects on the create blog. There are some amazing projects and I am honored and humbled to be grouped with those talented folks.
A big thanks to DCWV and create for putting on a great challenge and giving such a great prize - 12 DCWV stacks!!
Friday, November 2, 2012
6” x 6” Pocket Album
So, I started this album over a year ago and just couldn't get motivated to finish it. Then DCWV and Create had a challenge to create something with DCWV paper. If your project is selected, you win 12 DCWV stacks!! That is a lot of pretty paper and I really would love to add it to my stash, so I pulled this out and worked like a mad woman to get it down. I still need to add the journaling, but it is done otherwise.
I used DCWV Spring Stack, Spring Glitter Stack, Spring Stack Cardstock, Spring Glitter Chipboard and Spring Glitter Rub-Ons.
Supply
List:
- 4 each coordinating patterned paper or cardstock
- 2 - 4 each coordinating solid cardstock
- Coordinating punch outs, stickers, etc.
- Coordinating brads
- 12-18 inches ribbon to tie book
- 12-18 inches ribbon or rick rack for embellishment
Required
Tools:
- Paper trimmer
- Scissors
- Tape runner, photo tape or other strong adhesive
- Embossing stylus, bone folder or scoring tool
- Crop-a-dile/hole punch
- Journaling pen(s)
Other
Tools:
- Scallop scissors
- Decorative punches
- Stamps
INSTRUCTIONS:
You will use
3 pieces of paper or cardstock for the pages.
Score the outside of each page at 3” from
left edge and 3” from right edge using a Scor-pal or ruler and embossing stylus.
Fold in the edges in to the center.
From the 4th piece of pattern paper or cardstock, cut 3 each 1” x 12” strip of paper.
Adhere the strips along the center seam of the 3 folded pages.
To make a pocket on one of the pages, cut away one of the folded flaps.
Attach the bottom half of the fold with a tape runner
along the side edge and secure with a brad on the back side, creating a pocket.
Cover the brad and only the folded paper with one of the 1” x 12” strips.
Do not glue the pocket
shut. Adhere strip only to
patterned paper, creating a pocket and covering back side of brads.
Score each folded page on the outside at 6” so
it folds in half to a 6” x 6” booklet.
Layer all of the pages together and punch with Crop-a-dial of hole punch about 1” from top and bottom.
Tie book together with ribbon.
Decorate pages to your liking with your photos, punch outs, stickers, journaling, stamps, embellishments, etc.
For pull out pages, cut remaining paper or
cardstock into 4 each 5 ¾” x 5 ¾” squares. Make page pulls or tags from circle punch or chip board. I Used both.
Finished 6 x 6 mini pocket album
Inside pocket page with pull out photo. Room to journal on the back. You could have 2-3 photos/tags/journal spots here.
Pull out pocket pages total 4 with front and back space for more photos or journaling.
Subscribe to:
Posts (Atom)