Pages

Showing posts with label create. Show all posts

Sunday, November 16, 2014

December 2012 Album

I  started this December Daily-esque  album right after Christmas 2012. I was pretty close to finishing it when I put it aside for something else. I pulled it out in preparation for submitting to the Craft Warehouse design team. That is when I realized I was not quite finished.


I still  haven't finished all of the journaling, but I am slowly working on it. I want to do another book this year for December/Christmas, so I am trying to get this one wrapped up.


I really wanted to get this posted so I took pictures before the journaling was done.


I love this book. It went together so quickly and the finished product is one of my favorites to date. Binder, paper, paper, trims and stickers are all from Teresa Collins Christmas Memory Binder Kit plus a things from my stash.

Way back in 2012 I was shopping my local Craft Warehouse when I found the binder kit and some extras on sale and I knew it would be a perfect for my first attempt at a December Daily. I didn't quire get the daily part done, but I did get the highlights from the month.

Sorry for the picture overload. Enjoy.

Friday, August 22, 2014

Altered Typeset Tray - Family Edition

Yet another project I finished over a year ago and didn't take pictures of. I bought this Typeset Tray Kit at Archiver's 4+ years ago and it sat in my craft room waiting for the perfect time to be used.

After we got home from an amazing family reunion trip to the Oregon Coast, I knew just what I wanted to do with it. I lost the instructions that came with the kit, so I winged it.


I think it turned out pretty great, if I do say do myself.  Hubby even liked (really  liked) it and let me put a whole in the wall to hang it in the front dining room!


Sunday, August 17, 2014

Stacked Frames

I am so thrilled with the way these stacked frames turned out. And they were super simple, too! I can't wait to finish painting the hall so we can get them up.


I am currently obsessed with all thing monogram, so I definitely love the "L" addition to the outside of the glass on the family photo.


And, because I adore my kiddos (when they are not trying to kill each other or me) this sheet of gold My Mind's Eye paper was perfect for one of my favorite pictures of them.


Supplies:
  • 2 each 12" x 12" frame
  • 2 each 5" x 5" frame
  • 2 each 12" x 12" scrapbook paper - I used My Mind's Eye
  • 2 each 5" x 5" coordination scrapbook paper
  • strong adhesive (I used E6000) or adhesive backed hook and loop
  • pictures cropped to 3.5"
  • chipboard monogram letter
  • acrylic paint
  • Liquid Glass
To make frames:
  1. Place 12" x 12" scrapbook paper in each frame
  2. Cut coordinating paper to small frame size
  3. Adhere cropped picture to center of coordinating paper and place in frame
  4. Adhere small frame to outside center of large frame glass. If plan on changing out the picture or paper in the small frames, use small pieces of adhesive backed hook and loop on the back of the small frame and glass of the large frame. I love these and don't plan on changing them out so I glued the small frame to the large frame glass with E6000. You may need to remove the table stand leg from the back of the small frame before adhering to the large frame, also.
  5. For the monogram letter, you can used pre-finished or create your own. I made my L by painting a plain chipboard letter with black acrylic craft paint and covering with Liquid Glass to give it shine.
  6. Adhere letter to outside glass of large frame with strong glue. Again, I used E6000.
I have actually had these frames done  for over a year after seeing something similar at my local Craft Warehouse and being inspired. I finally found the time to crop and print the pictures I wanted to put in them in. Now to get them hung...

Tuesday, August 12, 2014

Good News!!

I am so excited to share this good news! I have been selected to be a guest designer on the Craft Warehouse blog!

I submitted to be o their design team team again this year (I submitted in 2011 and got Honorable Mention) and wasn't selected for the Design Team, but I still get to Guest Design.

I am so excited!!

Craft Warehouse is where I shop for  most of my scrap stuff and I love the staff at my store. They know  the brands and colors I like and always let me know when new stuff is in.

Stayed tuned for more on the Guest Designer gig. In the meantime, head over and check out some of the other great talent!

Friday, August 1, 2014

Bright Summer Banners

I decide to brighten up the house for summer and made a few quick buntings, banners and burlap wreath.


I had seen similar wreaths on Pinterest and other blogs  and figured I could make one. I used a thin styroform ring and wrapped it in wide burlap ribbon. I used Doodlebug Fruit Stand paper and stickers to create the mini flag bunting and medallion.


For the FUN and SUMMER banners, I also used Doodlebug Fruit Stand papers and stickers. I cut all the banner shapes using the Cricut Art Philosophy cartridge and spelled out  FUN and SUMMER with Thickers.


Sunday, May 25, 2014

Fall Fun Mini Album

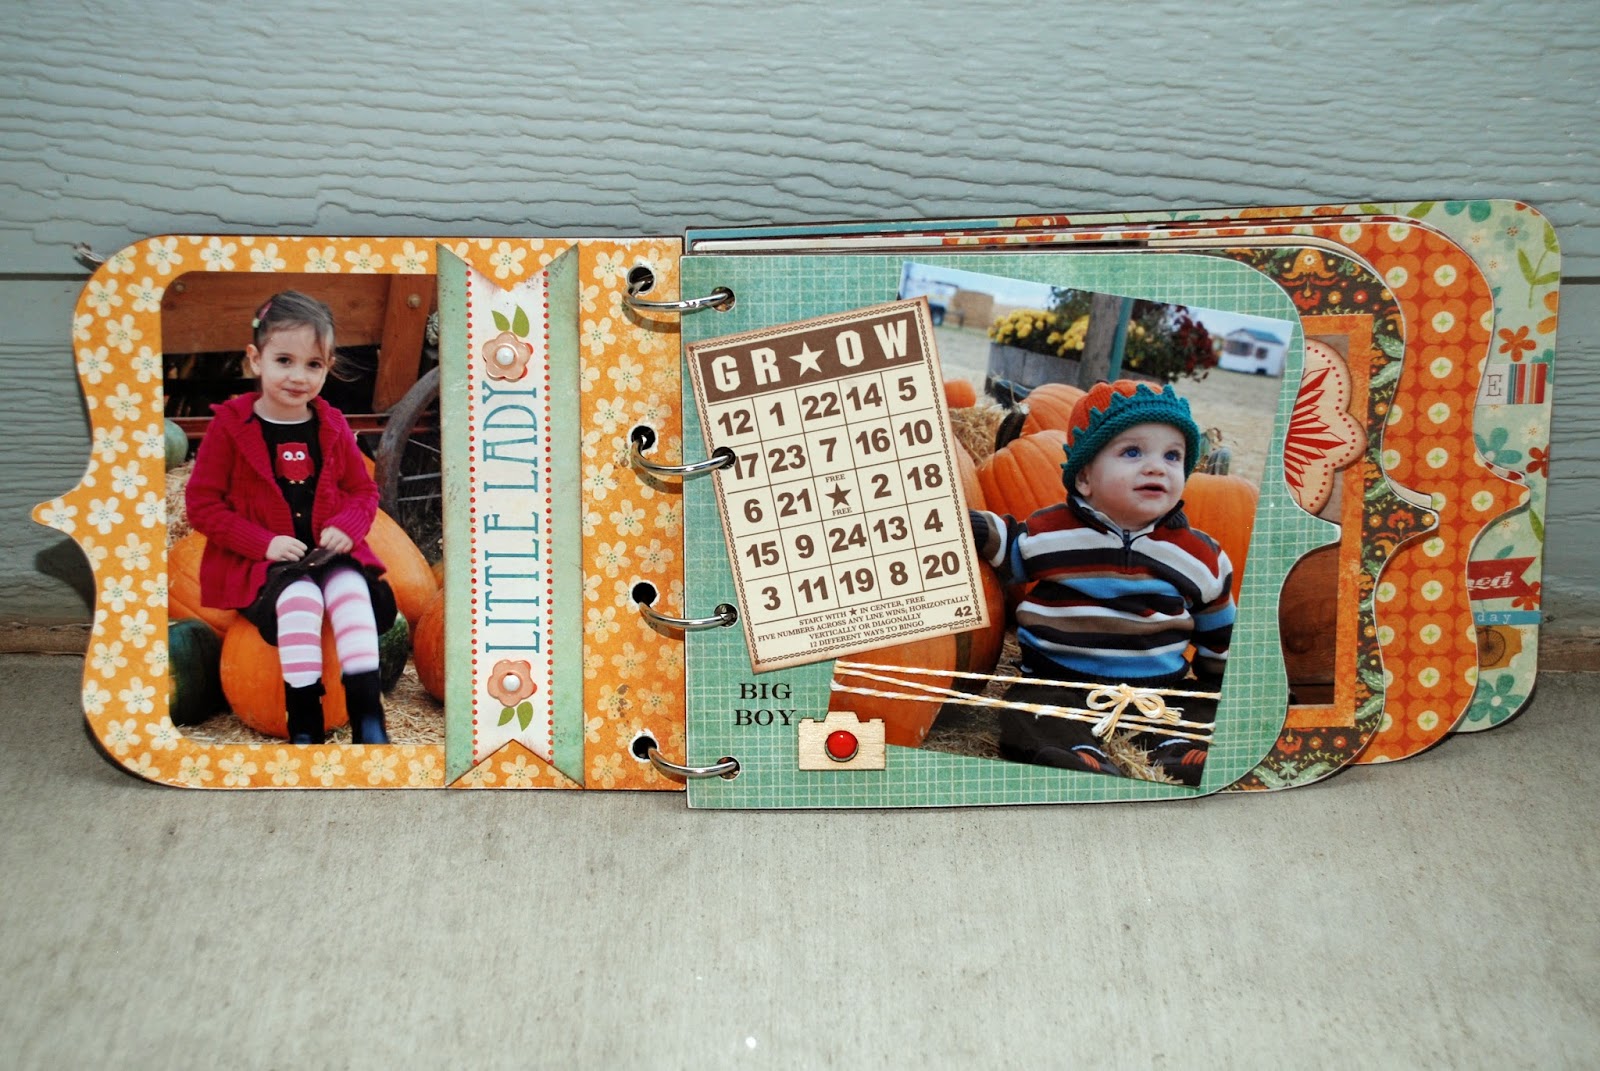
Another project I started and almost finished over a year ago was this super cute mini album about a trip to the Pumpkin Patch. I set it aside to finish the journaling and add a few minor touches and didn't touch it until recently.


I LOVE the warm colors in these My Mind's Eye papers - they just feel like fall to me.


I obviously still have the journaling to do, but I will get too it. Eventually.


The other thing I love about this mini album is the pictures. I am not a fn of having my picture taken, but I love these ones of us as a family!

Friday, December 14, 2012

Create to Win ~ Altered Frame

I got motivated to be crafty by the chance to win an awesome prize from Create and Studio Calico. This challenge involved a project using Studio Calico products, which I have been wanting to try. I decided to make a frame using some papers from the Abroad collection for one of my favorite photos of dear Hubby and me before we were married. We traveled to Ireland with a group of friends for the wedding of Shane and Lila, 2 people we adore. The trip was amazing, once in a lifetime, with that many people who are our friend-family.

My frame turned out great (in my opinion) and I have the perfect spot on the night stand for it so I can see it everyday.

The challenge called for a video, but I am not sure how to do that well, so I took pictures.


Paper: Studio Calico Abroad (Departure, First Class, Destination); Stickers: Studio Calico Hearts & Arrows, Darling Dear Letter Set and Take Note Flair Badges; Wood Veneers: Studio Calico Classic Calico Hearts & Arrows and Abroad Cameras; Gems: Studio Calico Darling Dear Opaque Gems; Tag: Studio Calico Heyday Ephemera Pack

Again, I am super happy with the way it turned out and I am now a definite fan of Studio Calico. Fingers crossed that I win the awesome prize pack.

Tuesday, July 31, 2012

Father's Day Frame


I made this frame for Hubby for Fathers Day. It was such a quick and cute gift that I made a similar one for my dad for his birthday


I took and unfinished hinged frame from Craft Warehouse and painted the edges a dark brown and covered the front with cute striped paper from Echo Park Note to Self.


I added some stickers and embellishments from the same line. I used the 5 button and 2 card because that is the age of my sweet kiddos in the picture.